Upgrading your home with new flooring can completely transform your space, adding both value and beauty. Whether you prefer the timeless elegance of hardwood, the durability of vinyl, or the comfort of carpet, understanding the flooring installation process is essential. Proper preparation and installation techniques ensure your new floors last for years and maintain their visual appeal.
This comprehensive guide will walk you through each step of flooring installation, highlighting key details for various materials. We’ll also discuss why professional floor fitting is important and how homeowners in Bel Air, CA can benefit from expert help with their projects.
What Is Flooring Installation?
Flooring installation refers to the process of preparing the subfloor, selecting materials, and securely fitting the floor covering in your home. The approach depends on the type of flooring chosen, such as hardwood, laminate, vinyl plank, tile, or carpet. Each material requires specific tools and techniques, but the foundational steps remain similar.
The goal is to create a smooth, level, and durable surface that complements your home’s design while standing up to daily use. A poorly executed installation can lead to uneven surfaces, gaps, or premature damage, so understanding the process is key.
Subfloor Preparation: The Foundation of Success
One of the most crucial steps is subfloor preparation. The subfloor is the base that supports your new surface. Whether it’s plywood, concrete, or another material, it needs to be clean, dry, level, and free of damage.
Begin by removing any debris, nails, or old adhesives. Check for moisture issues, especially on concrete bases, and address them promptly to prevent mold or warping later. Use leveling compounds to fix uneven areas, as any bumps or dips will show through the finished surface.
Proper subfloor preparation prevents squeaks, gaps, and premature wear, ensuring your new installation looks great and performs well over time. Homeowners in Bel Air, CA, understand the importance of this foundational step.
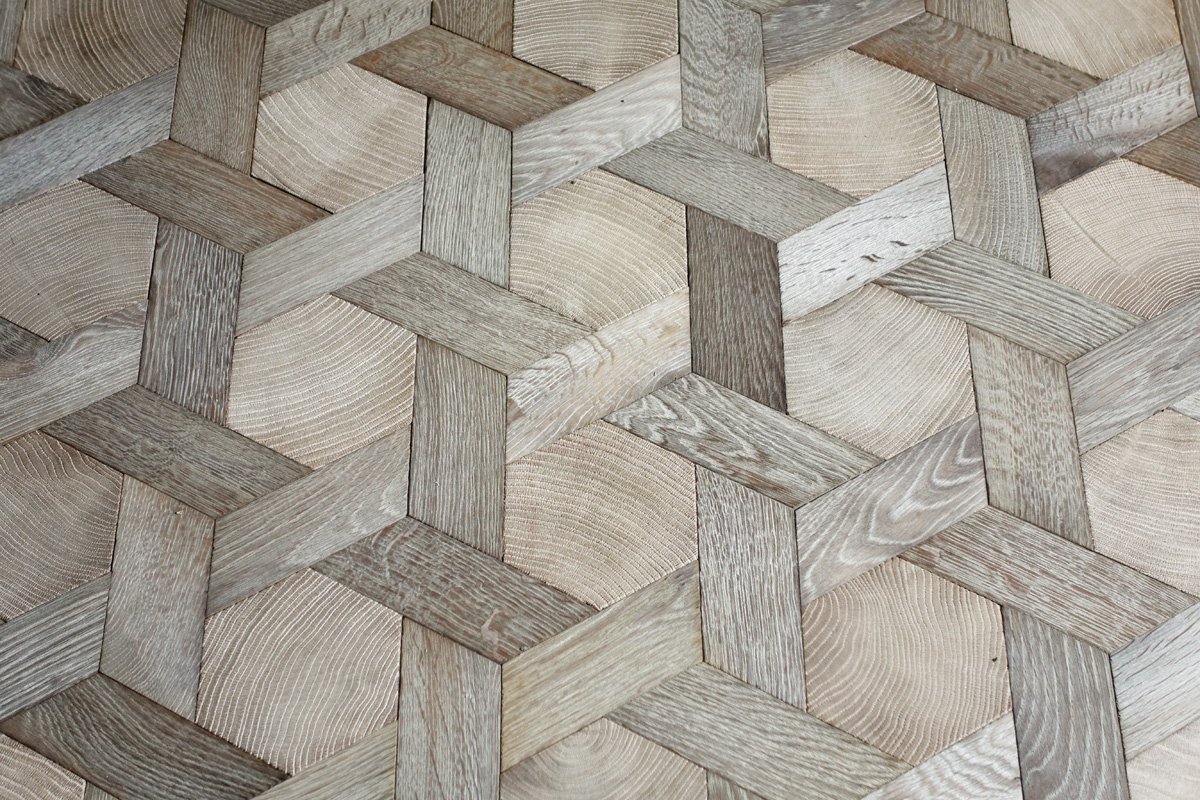
Hardwood Floor Installation
Hardwood remains a popular choice due to its natural beauty and longevity. When installing hardwood, acclimating the planks to your home’s environment is essential. This helps the wood adjust to humidity and temperature, reducing the risk of warping after installation.
Installation methods include nail-down, staple-down, or glue-down, depending on the subfloor and wood type. A moisture barrier is often recommended, especially over concrete.
Careful spacing is necessary to allow for expansion and contraction, preventing buckling. Hardwood floors can be sanded and refinished multiple times, making them a long-term investment.
Laminate Flooring Setup
Laminate flooring offers a cost-effective, durable alternative that mimics the look of natural wood or stone. It typically features a click-lock system allowing for floating installations without glue or nails.
Before installation, lay down an underlayment to provide cushioning, reduce noise, and act as a moisture barrier. Start from one corner, connecting planks tightly to avoid gaps. Laminate is resistant to scratches and easy to clean, making it ideal for busy households.
Vinyl Plank Flooring Installation
Vinyl plank flooring is known for its water resistance and versatility. It’s a great option for kitchens, bathrooms, and basements.
There are several installation methods: floating, glue-down, or peel-and-stick. The subfloor must be clean, smooth, and dry. Lay the planks following the manufacturer’s instructions, staggering seams for a natural look. Vinyl planks come in a wide range of styles and finishes, offering flexibility in design.
Tile and Stone Installation
Tile and stone floors are durable and stylish but require meticulous preparation and installation. After ensuring the subfloor is flat and stable, a cement backer board is often installed to provide additional support.
Use thin-set mortar to adhere tiles or stones, placing spacers for even grout lines. Once the adhesive cures, grout is applied and later sealed to protect from moisture and stains.
This installation is ideal for wet areas like bathrooms or high-traffic spaces that need a hard-wearing surface.
Carpet Installation Process
Carpet installation is unique and involves stretching and securing the material over padding to provide softness and insulation.
First, lay down high-quality padding to enhance comfort and durability. Tack strips around the room’s perimeter hold the carpet in place. Use specialized tools to stretch the carpet tightly and eliminate wrinkles. Finally, trim excess material and secure edges for a clean finish.
Carpet is excellent for bedrooms and living rooms where warmth and noise reduction are priorities.
Why Choose Professional?
While some homeowners consider DIY installation, professional floor fitting guarantees precision and efficiency. Experts have the experience and tools to handle complex layouts, intricate cuts, and different material requirements.
Professionally installed flooring minimizes waste, avoids costly mistakes, and often comes with a workmanship warranty. In Bel Air, CA, companies like Atlantic Hardwood Flooring offer trusted expertise to ensure your investment lasts and looks great.
Tips for Maintaining
Maintaining your floors extends their life and keeps them looking fresh:
- Sweep or vacuum regularly to remove dirt and grit
- Wipe spills promptly to avoid stains and damage
- Use appropriate cleaning products for your flooring type
- Place pads under furniture to prevent scratches
- Avoid excessive moisture on wood or laminate surfaces
Proper care protects your investment and preserves your home’s aesthetic.
Final Thoughts
A successful installation starts with proper preparation, careful selection of materials, and skilled application. Whether you choose hardwood, laminate, vinyl, tile, or carpet, knowing the steps involved empowers you to make informed decisions. Hiring professionals ensures your surfaces are installed correctly and efficiently, adding value and beauty to your home. With good maintenance, your new surfaces will stand the test of time.
Choosing quality materials suited to your lifestyle also helps maximize durability and appearance. Paying attention to environmental factors, like humidity and temperature, can prevent future issues. Regular inspections allow you to address minor concerns before they become costly repairs.
FAQs
- How long does installation usually take?
Installation typically takes between 1 to 5 days depending on the material type and room size. - Can new material be installed over existing surfaces?
Yes, as long as the old surface is level, clean, and in good condition, installation over it is possible. - What materials work best for high-traffic areas?
Durable options like tile, vinyl, and hardwood are ideal choices for areas with heavy foot traffic. - How often should surfaces be maintained to stay in good shape?
Regular cleaning and occasional refinishing, especially for hardwood, keep surfaces looking their best.
