Embarking on a painting project, whether it’s refreshing a single wall or transforming an entire room, requires more than just choosing the perfect paint color. The quality and selection of your painting tools play a pivotal role in achieving a professional finish. Understanding the various tools available and their specific uses can make the difference between a satisfactory result and a truly impressive one.
Essential Painting Tools Every DIYer Should Have
Equipping yourself with the right painting tools ensures efficiency, precision, and a polished outcome. Here’s a comprehensive guide to the must-have tools for your next painting endeavor:
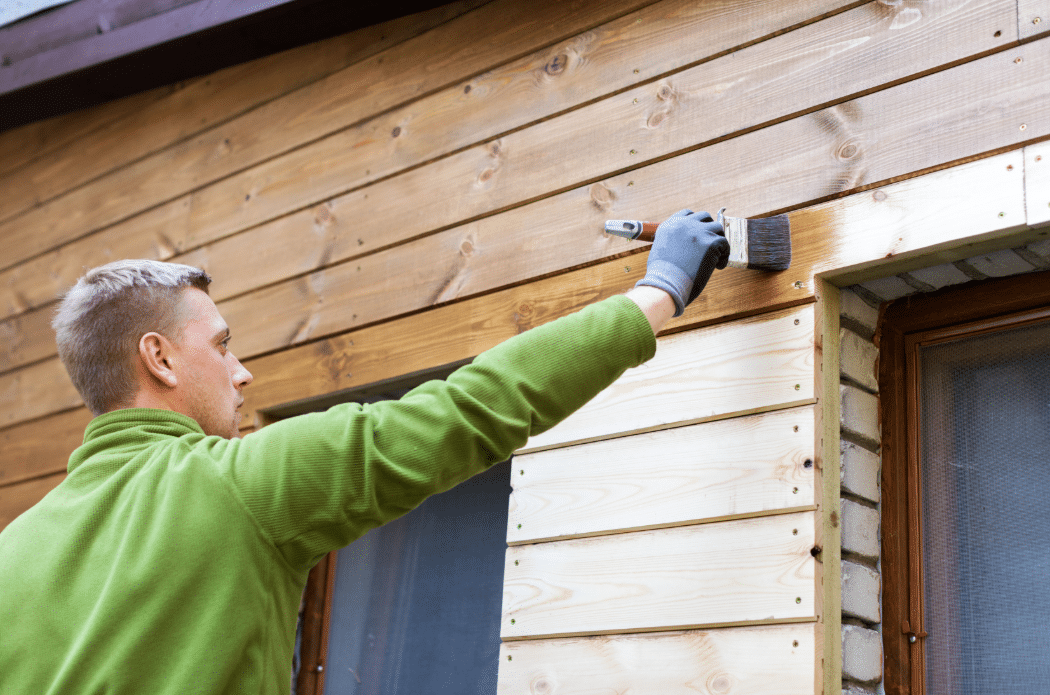
1. High-Quality Paint Brushes
Investing in quality brushes is crucial for achieving smooth, even coats, especially in detailed areas. A set of brushes in various sizes caters to different tasks, from cutting in edges to painting trim. Opt for brushes with synthetic bristles for water-based paints and natural bristles for oil-based paints.
2. Durable Paint Rollers
Rollers are ideal for covering large, flat surfaces quickly and evenly. The nap length of the roller cover should correspond to the texture of the surface: shorter naps for smooth surfaces and longer naps for textured walls. Using a roller extension pole can help reach high areas without the need for ladders.
3. Paint Trays and Liners
A sturdy paint tray allows for easy loading of your roller. Liners simplify cleanup by allowing you to dispose of excess paint and avoid washing the tray after each use.
4. Painter’s Tape
Painter’s tape is essential for masking off areas you don’t want to paint, such as baseboards, window trim, and door frames. It ensures crisp, clean lines and prevents paint from bleeding onto unintended surfaces.
5. Drop Cloths or Plastic Sheeting
Protect your furniture and flooring from spills and splatters with drop cloths or plastic sheeting. Canvas drop cloths are reusable and absorbent, while plastic sheeting is lightweight and disposable.
6. Putty Knife and Spackle
Before painting, it’s important to repair any holes or imperfections in the wall. A putty knife and spackle allow you to fill in these areas smoothly, creating a flawless surface for painting.
7. Sanding Sponge
After the spackle has dried, use a sanding sponge to smooth the patched areas, ensuring they blend seamlessly with the rest of the wall. This step is vital for achieving a professional-looking finish.
8. Paint Tray Liner
Using a paint tray liner not only simplifies cleanup but also extends the life of your paint tray by preventing paint buildup.
9. Extension Pole
An extension pole attaches to your roller, allowing you to reach higher areas without the need for a ladder. This tool is especially useful for painting ceilings and tall walls.
10. Paint Can Opener and Stir Stick
A paint can opener helps you easily access your paint, while a stir stick ensures the paint is thoroughly mixed, providing consistent color and texture.
Tips for Using Painting Tools Effectively
- Maintain Tools Properly: Clean your brushes, rollers, and trays immediately after use to prolong their lifespan and maintain performance.
- Use Appropriate Tools for the Job: Select the right tool for each task to ensure efficiency and quality results.
- Prepare Surfaces Thoroughly: Proper surface preparation, including cleaning and repairing, is essential for achieving a smooth and durable finish.
- Apply Paint in Thin, Even Coats: Multiple thin coats of paint are preferable to one thick coat, as they dry more evenly and reduce the risk of drips.
- Allow Adequate Drying Time: Ensure each coat of paint is completely dry before applying the next to avoid smudging and ensure proper adhesion.
Conclusion
The right painting tools are indispensable for any painting project. By investing in quality tools and using them correctly, you can achieve a professional finish that enhances the beauty and value of your home.
