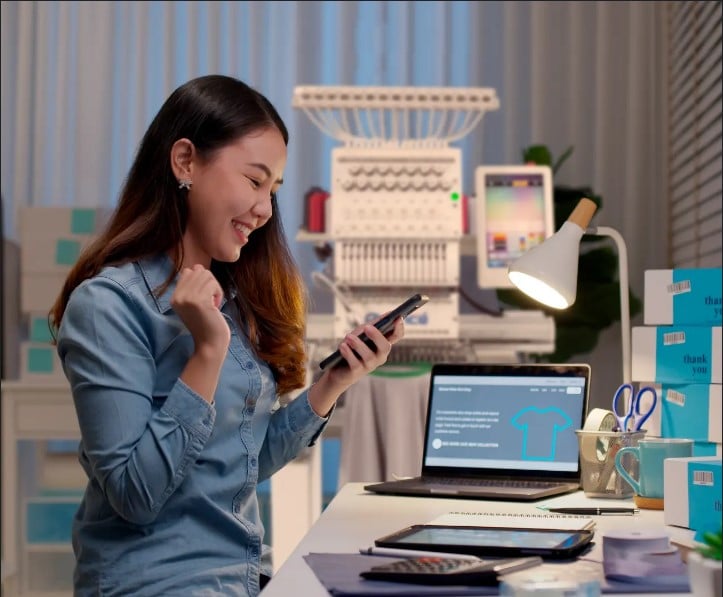
Have you ever looked at a beautifully stitched logo on a cap or a floral design on a tote bag and thought, “I’d love to make something like that”? Whether you’re dreaming of starting a custom embroidery business or just want to explore a fun, creative hobby and how to learn embroidery digitizing is the perfect place to start.
Feeling overwhelmed? No worries! If you ever want a professional touch while you’re learning the ropes, Digitizing Buddy offers affordable, high-quality custom embroidery digitizing services. They’re a great option when you want to turn your artwork into machine-ready files fast, especially if you’re running a business or working on custom client orders.
What Is Embroidery Digitizing, Anyway?
Let’s keep it simple.
Embroidery digitizing is the process of converting artwork—like a logo, drawing, or graphic—into a digital embroidery file that an embroidery machine can understand and stitch. This file tells the machine:
- Where to stitch
- What type of stitches to use
- When to change thread colors
- How dense the stitches should be
These files aren’t just images—they’re instructions.
The most common embroidery file types include:
| Format | Machine Brand |
| PES | Brother, Babylock |
| DST | Tajima (industrial) |
| JEF | Janome |
| EXP | Bernina |
| XXX | Singer |
Why Learn Embroidery Digitizing?
Digitizing is a super valuable skill—and not just for hobbyists. Here’s why it’s worth learning:
Start a Small Business
Digitizing allows you to create custom designs for clients. Think businesses needing branded shirts, events needing embroidered swag, or Etsy stores offering personalized items.
Creative Freedom
Design what you want—don’t rely on stock patterns or pre-made files. Turn your own artwork into embroidered pieces.
Save Money
Instead of paying someone to digitize every time, you can create and tweak your own files.
Expand Your Skills
If you already do machine embroidery, digitizing takes your craft to the next level.
Tools You Need to Start Digitizing
Learning embroidery digitizing doesn’t require a huge investment, but you’ll need a few essentials.
1. Digitizing Software
This is your most important tool. Some popular options include:
| Software | Skill Level | Cost | Notable Features |
| Ink/Stitch | Beginner | Free | Great for SVG files |
| SewArt | Beginner | ~$75 (Free trial) | Auto-digitizing |
| Wilcom Hatch | Intermediate–Pro | $$$ | Manual control |
| Embird | Intermediate | Paid | Extensive features |
| Brother PE-Design | Beginner+ | Paid | Native for Brother machines |
Tip: Start with Ink/Stitch (free) or SewArt (affordable trial) if you’re just exploring.
2. Good Artwork
Use a clean, high-resolution image or vector file (SVG, AI, PNG). Simpler is better—logos, line art, or bold graphics work best for beginners.
Avoid detailed photos or complex gradients until you’re more experienced.
3. Embroidery Machine (Optional at First)
You don’t have to own an embroidery machine to learn digitizing—but it’s great for testing your files. If you do have one, make sure your digitized file matches its format (e.g., PES for Brother machines).
Step-by-Step: How to Learn Embroidery Digitizing
Ready to dive in? Here’s your beginner roadmap.
Step 1: Understand the Basics
Learn embroidery terms like:
- Satin stitch – used for text and outlines
- Fill stitch – for solid areas
- Running stitch – for thin lines and details
- Underlay – hidden stitches that provide structure
- Jump stitch – movement from one part to another without stitching
Plenty of free YouTube tutorials and blogs explain these in simple terms.
Step 2: Start With Auto-Digitizing
Auto-digitizing is like using a filter—it automatically converts your image into stitches. It’s not perfect, but it’s a great way to learn.
Software like SewArt or Ink/Stitch lets you import an image and quickly turn it into a stitch file. You’ll see how stitch types and paths are generated.
Tip: Test auto-digitizing, then tweak it manually to get better results.
Step 3: Try Manual Digitizing
Manual digitizing gives you full control over:
- Stitch types
- Stitch direction and flow
- Density and pathing
- Color order and layering
It takes longer, but the result is cleaner and more professional—essential if you’re working with clients or want flawless embroidery.
Step 4: Test and Refine Your Files
Digitizing is half the battle the other half is seeing how your design actually stitches out.
If you have an embroidery machine:
- Load your file
- Use a scrap fabric and stabilizer
- Watch for issues like thread breaks, puckering, or gaps
- Make adjustments and re-test
If you don’t have a machine yet, you can still preview your stitch file in software or ask a friend/shop to test it for you.
Step 5: Keep Practicing (And Saving Versions!)
Digitizing is like digital drawing—it improves with practice. Start small, like:
- Monograms
- Simple icons
- Logos with minimal colors
- Floral outlines
And always save versions as you go in case you want to make edits later.
When to Use a Professional Digitizing Service
Even if you’re learning, sometimes it’s better to hand off complex projects. Here’s when to consider pros like Digitizing Buddy:
- You’re on a deadline
- The design is very detailed
- You’re stitching on tricky materials (hats, leather, etc.)
- It’s for a paying customer and needs to be perfect
- You want to learn by comparing pro work to yours
Ordering from a pro can also give you a reference to study and reverse-engineer to improve your skills.
Common Beginner Mistakes to Avoid
Here’s what to watch out for as you learn:
❌ Using low-res or blurry images
→ Start with clean artwork or vector files.
❌ Skipping underlay stitches
→ Underlay provides structure—don’t skip it!
❌ Overcrowding small areas with stitches
→ Keep it simple. Dense areas can cause thread breaks.
❌ Too many colors or thread changes
→ Fewer colors = cleaner results, especially on small machines.
❌ Not testing your design
→ Always do a test stitch before using good fabric.
Bonus: Business Ideas for Digitizers
Once you’re confident in digitizing, here are a few ways to monetize your skills:
- Offer custom digitizing services (like Digitizing Buddy)
- Sell digitized designs on Etsy or Creative Fabrica
- Partner with local embroidery shops
- Digitize logos for small businesses and sports teams
- Start your own embroidery brand using your own designs
Digitizing isn’t just a skill—it’s a business opportunity.
Final Thoughts: Ready to Stitch Your Journey Forward?
Learning embroidery digitizing is a fun, creative, and practical skill that opens up so many possibilities—whether you’re building a brand, personalizing gifts, or just diving into a new hobby.
Start simple. Be patient. Learn the tools. And don’t hesitate to lean on the pros (like Digitizing Buddy) while you grow your skills.
Your stitches might begin as practice—but they could become art, income, or your new favorite passion.
