Small wounds happen every daypaper edges, kitchen knives, playground tumbles, or a slip with the garden shears. While they usually heal without drama, the way you handle those first few minutes can mean the difference between quick recovery and an infection that drags in homes care. This guide walks you through easy, proven steps for treating minor cuts and scrapes, keeping them clean, and knowing when it’s time to ask for professional help.
Understand Your Wound
| Type of break | How it looks | Usual cause | Key risk |
|---|---|---|---|
| Cut | Straight or jagged line, may bleed fast | Knife, sharp metal, glass | Deeper tissue damage |
| Scrape (abrasion) | Surface skin rubbed off, “raspberry” look | Road rash, sliding on carpet | Dirt embedded in skin |
| Puncture | Small entry hole | Nail, needle, thorn | Germs trapped deep inside |
Rule of thumb: If you can see bone, fat, or tendon or if edges gape more than a quarter-inch skip home care and go straight to urgent care or the emergency room.
Act Fast: First 30 Seconds
- Stop the bleeding.
- Press a clean cloth or sterile gauze over the spot.
- Elevate the injured part above heart level if possible.
- Hold steady pressure for two full minutes before peeking.
- Stay calm and still.
Movement pumps blood faster. A steady posture helps clots form.
Rinse, Don’t Scrub
- Move to clean running water—tap water is fine.
- Hold the wound under gentle flow for at least 30 seconds.
- Pick out visible dirt with washed fingers or clean tweezers.
- Skip strong soaps, hydrogen peroxide, or rubbing alcohol; they irritate new tissue. Mild, scent-free hand soap around, not in, the cut is enough.
Expert tip (Dr. Ayesha Karim, Family Physician): “Plain water under mild pressure clears 90 % of surface bacteria. Chemicals add sting with no extra benefit for small cuts.”
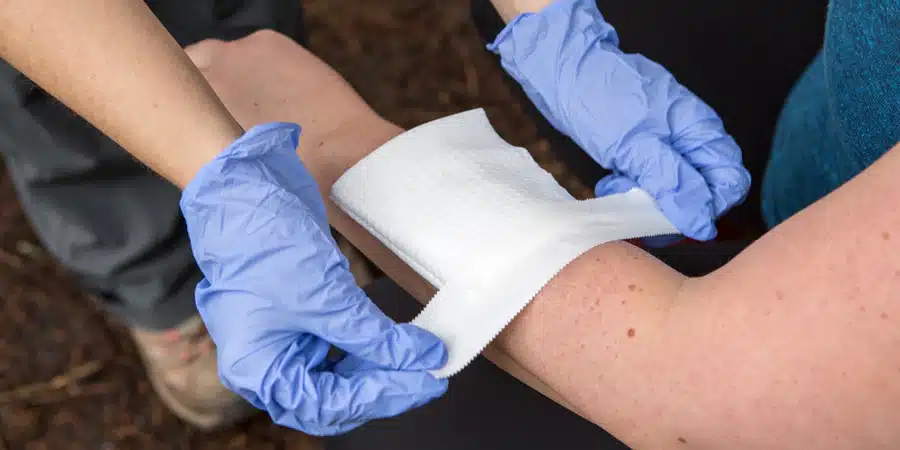
Pat Dry and Protect
- Dry carefully using a fresh paper towel or sterile gauze. Dab—don’t rub.
- Apply a thin layer of plain petroleum jelly or an antibiotic ointment if your doctor suggests it. This keeps the site moist, which speeds healing and lowers scarring.
- Cover with the right bandage:
- Adhesive strip for tiny line cuts.
- Non-stick pad plus tape for wider scrapes.
- Finger cots or liquid bandage for hard-to-wrap areas.
Daily Check-Up Routine
| Morning | Evening |
|---|---|
| Wash hands, peel away old dressing. | Repeat clean water rinse if pad is stuck. |
| Inspect: color, swelling, warmth, smell. | Add fresh layer of jelly/ointment. |
| Re-cover with clean bandage. | Replace dressing; leave small scrapes open to air if scab is firm and area stays clean. |
Signs everything is on track: edges pull together, light pink skin fills in, tenderness eases each day.
Warning Flags You Can’t Ignore
- Redness spreading more than half an inch beyond the wound
- Throbbing pain that grows after day two
- Yellow or green discharge, foul odor
- Fever over 100.4 °F (38 °C)
- Numb skin around the site
- Red streaks running up a limb (possible bloodstream infection)
Seek medical help right away if you notice any of these signals.
Special Situations
Children
Kids heal fast but touch everything. Clean hands, short nails, and snug bandages keep dirt out. Give them a gentle reminder not to pick at scabs.
People with Diabetes
High blood sugar slows healing. Check cuts on feet twice daily, keep pressure off with comfy shoes, and contact your clinician sooner rather than later.
Outdoor Fans
If a puncture comes from soil, wood, or rusty metal and your tetanus shot is older than ten years (or five for high-risk punctures), get a booster within 48 hours.
Build a Simple Home First-Aid Kit
| Item | Why you need it |
|---|---|
| Sterile gauze pads (4 × 4 in) | Bleeding control, wound cover |
| Adhesive bandage strips, assorted sizes | Quick seal for small cuts |
| Non-stick pads | Protect larger scrapes |
| Medical tape (paper or fabric) | Secure pads without skin tears |
| Petroleum jelly | Moisture barrier |
| Antibiotic ointment | Extra germ guard (if not allergic) |
| Alcohol wipes (for tools, not wounds) | Sterilize tweezers or scissors |
| Tweezers with fine tip | Remove splinters, gravel |
| Small scissors | Trim loose skin or dressings |
| Disposable gloves | Keep your hands clean during care |
Store the kit in a dry, easy-to-reach spot; check expiry dates every six months.
Preventing Cuts and Scrapes in the First Place
- Wear well-fitting shoes and non-slip soles.
- Use sturdy gloves while gardening or handling sharp tools.
- Keep kitchen knives sharp and cut on stable boards—dull blades slip.
- Tidy walkways and stairs: loose rugs and clutter cause falls.
- Teach kids to ride bikes and skateboards with knee and elbow pads.
FAQ
Do I let it “air out” or keep it covered?
Moist, covered wounds heal up to 40 % faster and scar less. Air exposure is fine once a hard scab forms and the area stays clean.
Can I go swimming?
Wait until skin closes completely. Lakes, pools, and oceans may harbor germs that sneak in through even tiny openings.
What about herbal remedies like aloe?
Cool aloe gel can soothe mild scrapes, but use it on intact skin edges only—never deep inside a cut. Always apply after cleaning.
Final Thoughts
Treating minor cuts and scrapes is mostly about clean water, gentle protection, and daily checks. Give small wounds the respect they deserve, and they’ll mend quietly in a week or two. Ignore them, and that “little thing” can grow into swelling, fever, or stitches you didn’t bargain for. Keep basic supplies on hand, follow these straightforward steps, and you’ll stay ready to patch up life’s everyday nicks with confidence and calm.
